How to Use an Interactive Whiteboard for Online Classes

While many countries worldwide are trying to ease COVID-19 restrictions, students in many cases are still struggling with learning from home. Social distancing rules have indeed made things challenging, but teachers and students can now effectively interact using an online whiteboard.
Traditional free video conferencing might be acceptable for certain subjects. But, where interaction or in-depth explanation is needed, teachers traditionally relied on a standard or electronic whiteboard, and for this reason, online whiteboards have become indispensable.
The interactive sessions with virtual whiteboards not only make it easy to explain but also increase the attention span of students. As teachers can create presentations and images with the virtual classes, it helps to describe the content in a manner that students can far better absorb and understand.
This is where HuddleIQ shines, and with a free trial, teachers can conduct virtual classes without financial commitment. Here’s a guide on how to teach online classes using HuddleIQ.
Signing Up
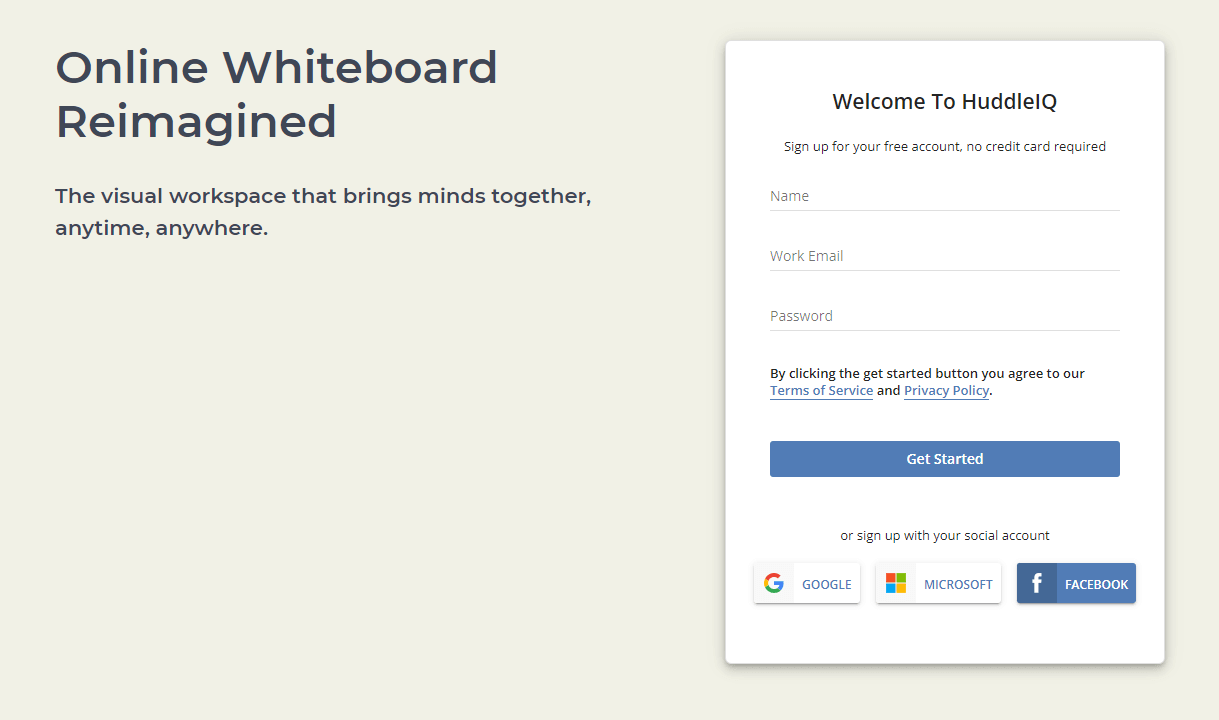
The process of signing up is straightforward. Click on the ‘Sign Up for Free’ button on the top right corner on the homepage. Provide your name, email address, and password, and click on ‘Create An Account’. Users can also sign up with Google, Facebook, or Microsoft accounts.
Creating a Board
If you are a first time user, the next step is creating your first board. To do that, login into your account and click on ‘Create a New Board.’ Give it a name, and your board will be ready for use. One of the advantages of HuddleIQ is that your classes are saved on your dashboard as boards, and you can access them any time you want.
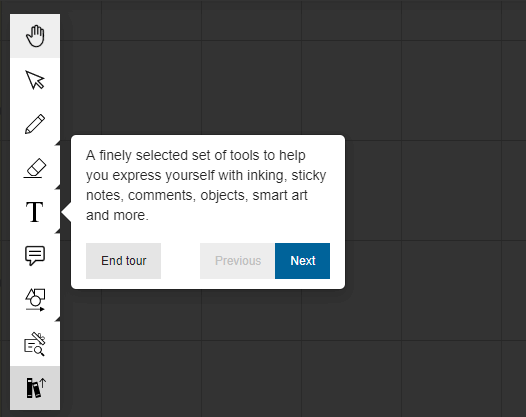
For first time users, there’s a tour to help you understand HuddleIQ, and how it works, enabling you to become familiar with the platform.
Inviting Members to the Classroom
Now that you’ve set up a virtual classroom, you need to invite your students. You can either invite them automatically via email or by copying and sharing the link to the board, but first ensure that they have been added as ‘members’ under the dashboard’s administration section and their email addresses confirmed.
Another option is to invite the members directly from the dashboard. To do that, choose your board, and click on the three vertical dots. Select ‘Invite Members’ and then select whom to invite and click ‘Send Invitations.’
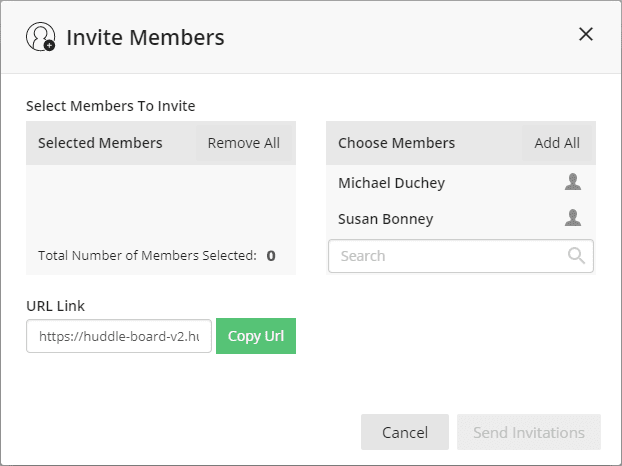
Additionally, you can invite members from an open board by clicking the ‘Invite’ icon located on the topbar’s right.
Conducting an Online Class
HuddleIQ comes with a variety of tools that covers many use case scenarios. Be it for online collaboration, presentations, or teaching students. Unlike other web whiteboards, HuddleIQ provides the option of video conferencing, screen sharing, and whiteboard all on one platform.
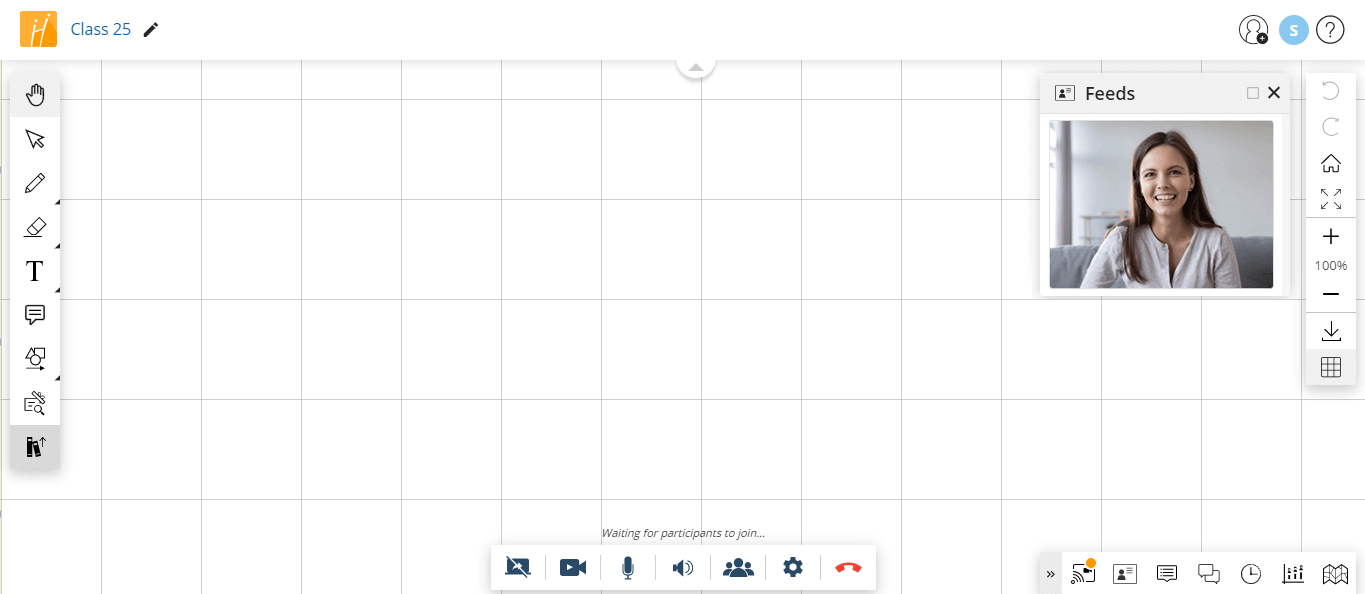
To use video conferencing, click the leftmost icon on the bottom right toolbar, and click on ‘Start.’ You will be asked for access to your webcam and microphone. Once granted, you’ll see the video conferencing toolbar on the bottom part of the screen, which provides numerous options, including controlling your webcam and microphone status.
Tools for Online Classes
The HuddleIQ platform has a large selection of tools that users can utilize. Just like a traditional board, there are erasers, pens, and highlighters to illustrate. There are options for adding shapes, images, pre-defined illustrations, sticky notes, comments, and more.

There are two types of erasers. First is the ‘Stroke Eraser’ that removes ink strokes (pen and highlighter) effortlessly. If you’d like to erase a large section quickly, use the second type of eraser called ‘Area Eraser’, which removes all objects within the selected area.
Library and Resources
We understand how tough it can be to look for images when teaching. That is why HuddleIQ comes with a collection of resources to make it easy for users. In addition to videos, icons, images, and illustrations, the presenter can also choose emojis or vector graphics to explain or express their views.
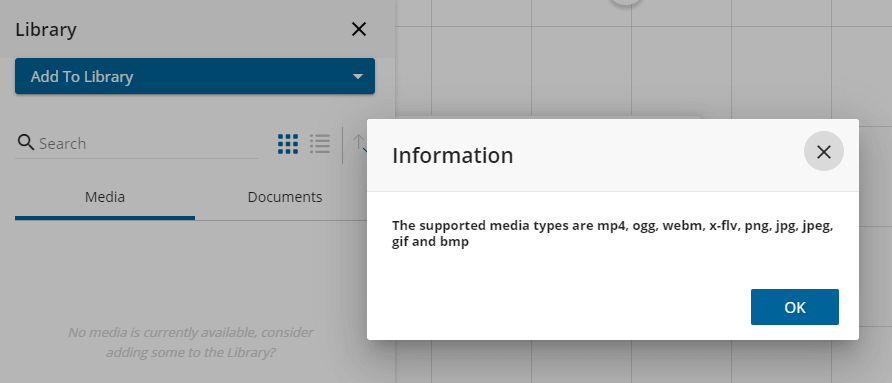
Users can upload these resources before conducting the class or seminar. HuddleIQ provides a storage space of 500 MB. To add files to the library, click on ‘Add to Library’ on the bottom of the left side toolbar, and choose the documents, images, or videos you want to upload.
A great feature of HuddleIQ is its ability to present documents to your class, be that PDF’s, Word, Excel, or PowerPoint. Your students will see what you choose to display, including page scrolls or changing pages. On top of this, you may annotate with a pen or highlighter key points of interest that you’re students will see in real-time, and when you’re done, you have the option to save any annotations made to the document.
Organizing Boards & Classes
You might have different classes for each day of the week. In these cases, creating a board for each class is a good strategy. To categorize your boards, click on ‘Projects’ on the dashboard where you’ll be able to create Projects, which are like folders that allow you or better organize your boards.
If you need to delete any board, click on the three dots next to the board and choose ‘Delete’. Confirm the action, and that’s it.
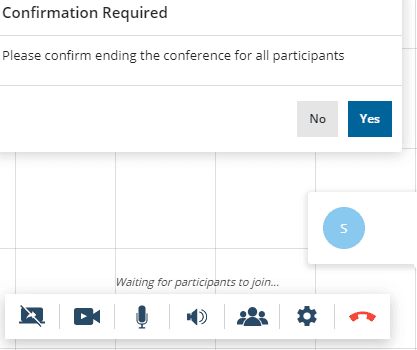
Ending a Live Class
To end your class, you need to leave the board. Click on the HuddleIQ icon on the top left corner, or the home button on the right-hand side toolbar. Once the confirmation window pops up, click on ‘Yes’. The board content is saved automatically after every change, so you don’t have to worry about losing data, and of course, you can reopen the same board and continue where you left off.
Support
We all need a helping hand at times, don’t we? This is why HuddleIQ support is always available for you. The help icon is located on the top bar’s right with an icon resembling a question mark. Click on it and explore your options. You can also easily find the answers in the FAQ section on the website as well. In case you don’t find a solution, you can always submit a request for support from the help section.
Wrapping Up
Online whiteboards have made it easy for teachers to interact with their students. We have discussed some of the benefits of how to get the most out of HuddleIQ. All you need to do is signup for an account to get started. Do you have any questions? Contact us now, and we’ll be happy to answer!